Pros
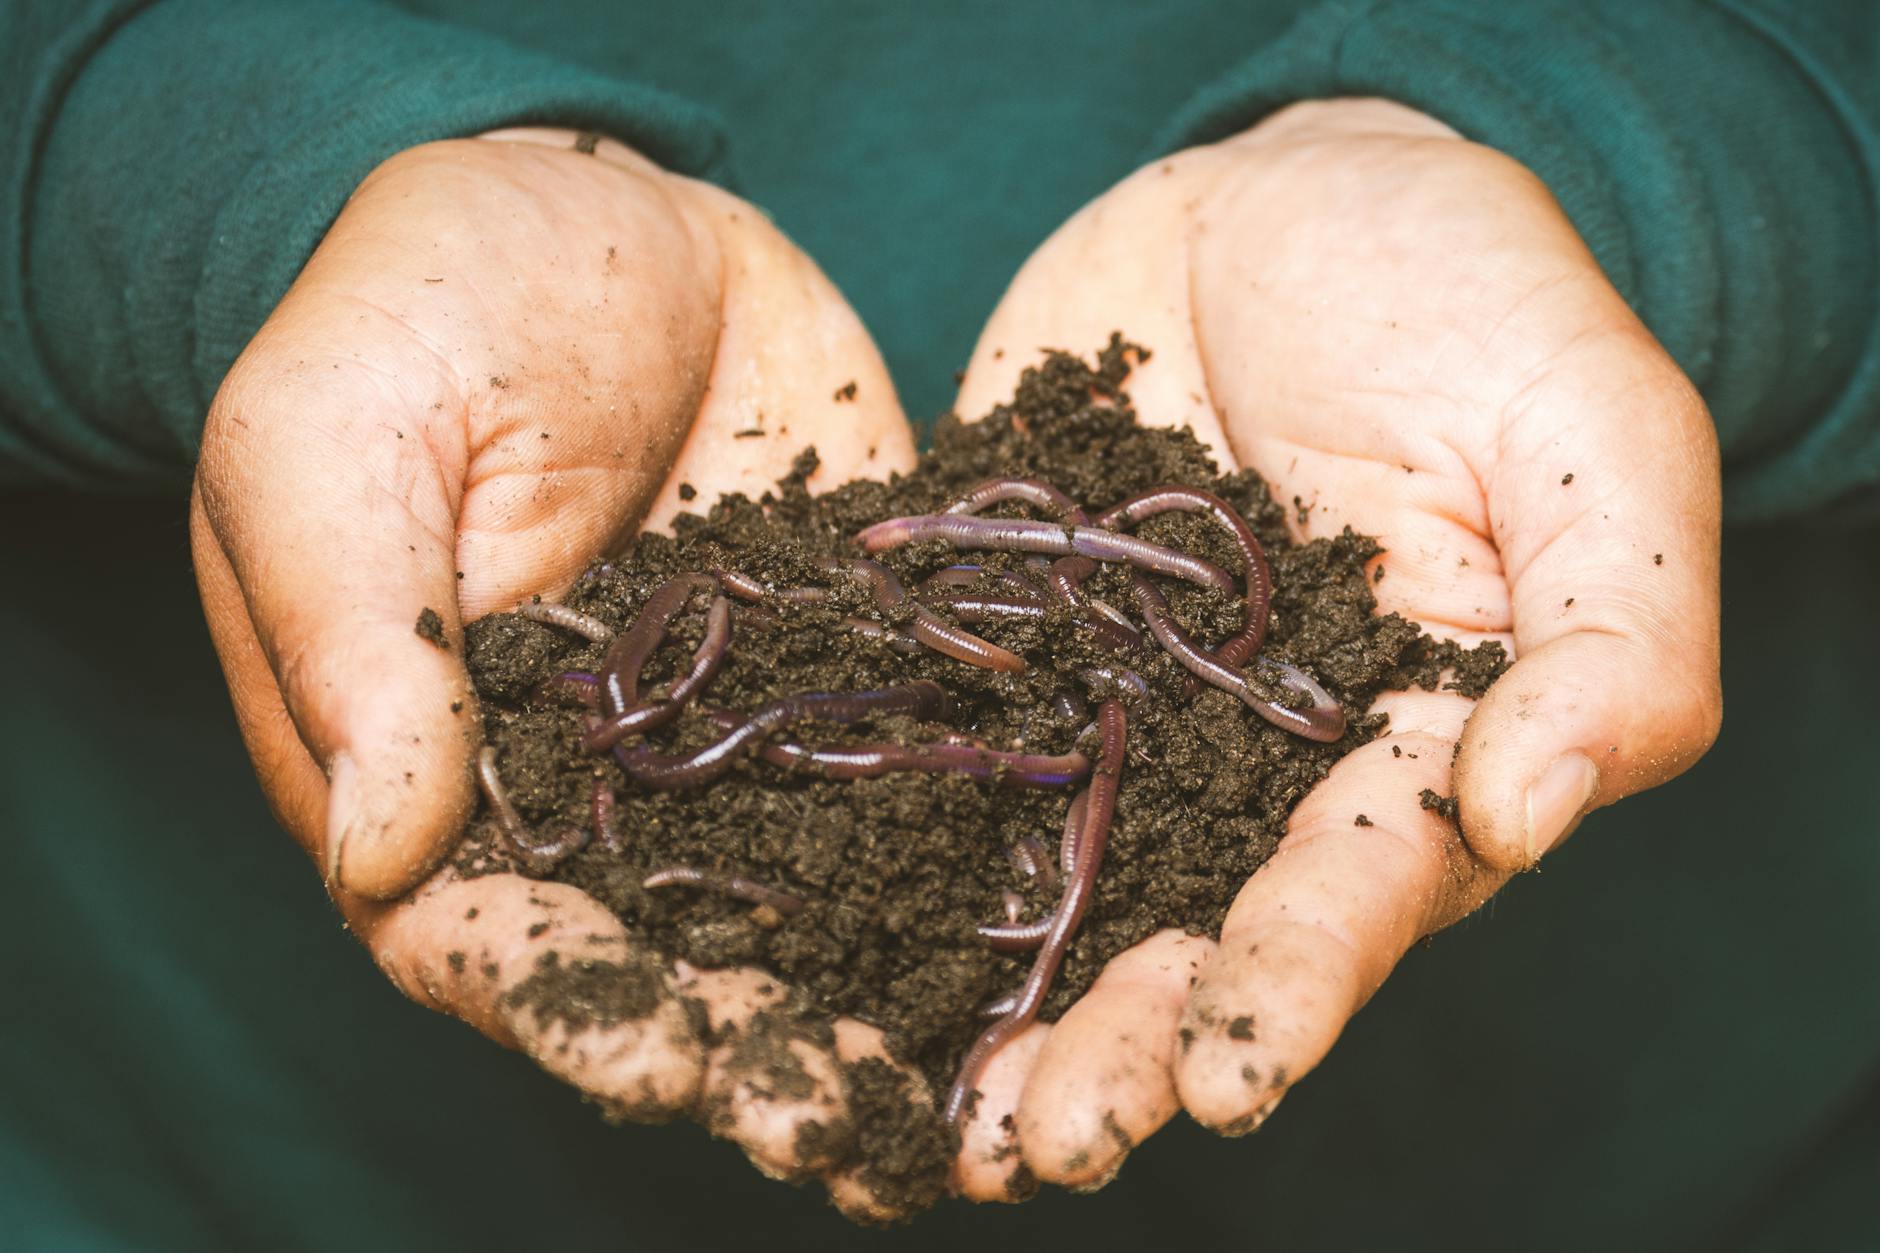
- Produces Nutrient-Rich Compost: Worm castings (worm poop) are a fantastic natural fertiliser, rich in nutrients that promote plant growth.
- Reduces Waste: Vermicomposting diverts food scraps and other organic materials from landfills, reducing greenhouse gas emissions.
- Easy to Manage: Worm composting bins are relatively low-maintenance and can be kept indoors or outdoors.
- Educational Tool: It’s a hands-on way to learn about decomposition, the food web, and sustainable practices.
- Environmentally Friendly: Produces no foul odours and doesn’t attract pests when managed properly.
Cons
- Limited Capacity: Worm bins have a limited capacity and can’t handle large amounts of waste at once.
- Slow Process: Vermicomposting takes time, and it may be weeks or months before you have usable compost.
- Sensitive Worms: Worms require specific conditions to thrive and can die if exposed to extreme temperatures or harsh chemicals.
- Not Suitable for All Materials: Certain materials like meat, dairy, and oily foods should not be added to a worm bin.
Implementing Worm Composting for Educational Purposes
Setting Up the Worm Bin
- Choose the Right Bin: Start with a simple plastic bin with holes drilled for ventilation and drainage. Alternatively, purchase a commercial worm composting bin.
- Prepare Bedding: Layer the bottom with shredded newspaper, cardboard, or coconut coir. Moisten the bedding but avoid making it soggy.
- Add the Worms: Introduce red wiggler worms to the bin. Start with a small population, and they will multiply as they consume food scraps.
Feeding the Worms
- Select Appropriate Food Scraps: Offer fruit and vegetable scraps, coffee grounds, tea bags, and crushed eggshells. Avoid meat, dairy, oily foods, and acidic citrus fruits.
- Bury the Food: Bury the food scraps in the bedding to prevent fruit flies and odours.
- Monitor the Bin: Check the moisture level regularly and add more bedding if needed.
Engaging Young People
- Hands-on Learning: Let young people participate in all aspects of the process, from setting up the bin to harvesting the compost.
- Observation: Encourage them to observe the worms’ behaviour and the decomposition process. Use a magnifying glass to examine the worms and their castings.
- Experiments: Set up experiments to explore different variables like temperature, food types, and worm populations.
- Record Keeping: Maintain a journal to track food scraps added, worm population, and compost production.
- Compost Application: Use the finished compost to fertilize plants on the farm and observe the difference it makes.
Educational Benefits
- Science: Understanding decomposition, nutrient cycles, and the role of worms in the ecosystem.
- Maths: Measuring and calculating food scraps, worm population, and compost volume.
- Environmental Awareness: Learning about waste reduction, resource conservation, and sustainable practices.
- Responsibility: Taking care of the worms and managing the composting process.
- Teamwork: Working together to maintain the worm bin and achieve common goals.
Tips
- Start Small: Begin with a small worm bin and gradually expand as young people gain experience.
- Keep it Fun: Make the learning experience enjoyable by incorporating games, quizzes, and creative activities.
- Connect to the Curriculum: Link the worm composting project to relevant topics in science, maths, and environmental studies.
- Celebrate Success: Acknowledge the young people’s efforts and the positive impact they are making on the environment.
By implementing worm composting on a farm and involving young people in the process, you can create a valuable educational experience that fosters a love for nature, promotes sustainable practices, and builds essential life skills.
Discover more from Fowey River Academy School Farm
Subscribe to get the latest posts sent to your email.


Leave a Reply